|
| ||||||||||||||||||
DIY Drainage Channel Installation - Step-by-Step Guide21 December 2023 | Admin
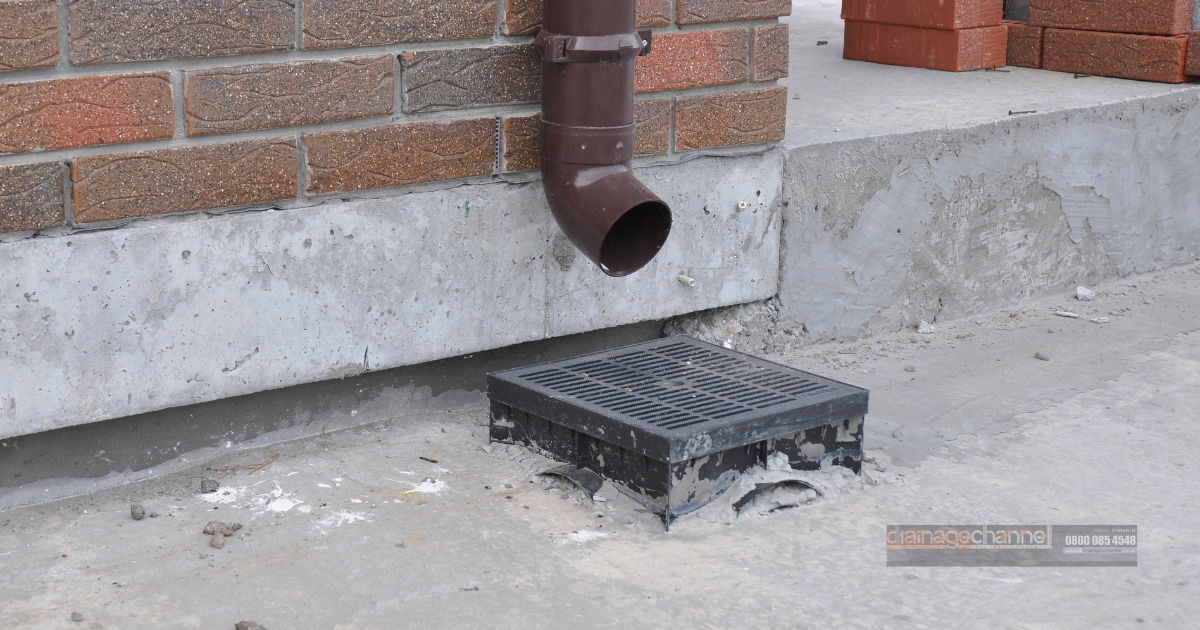
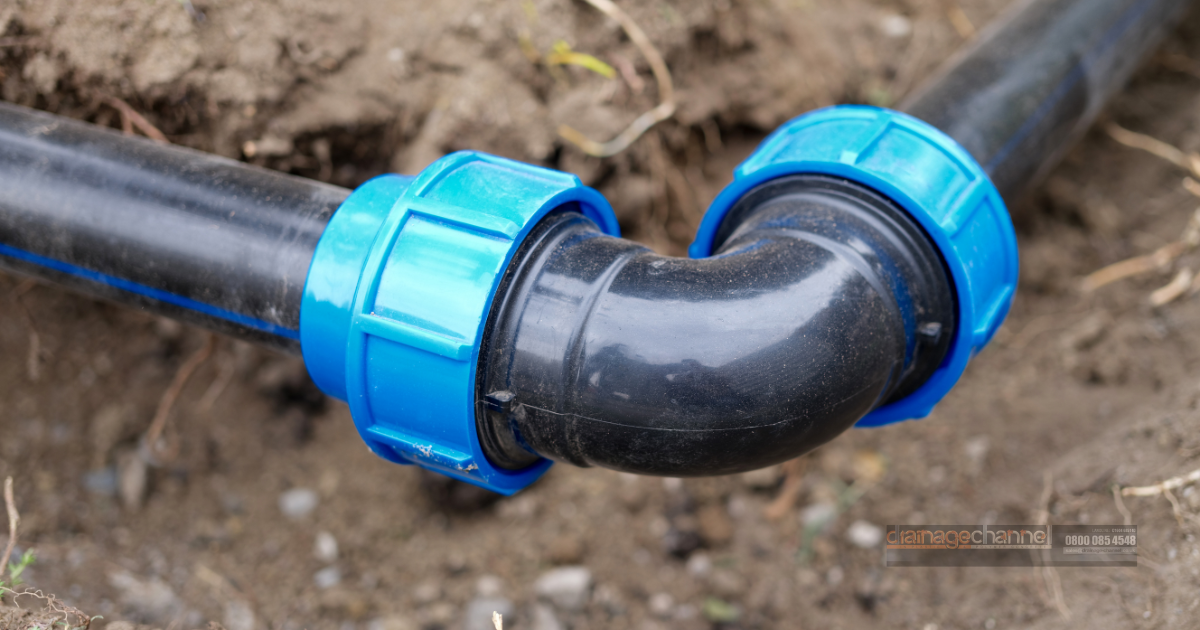
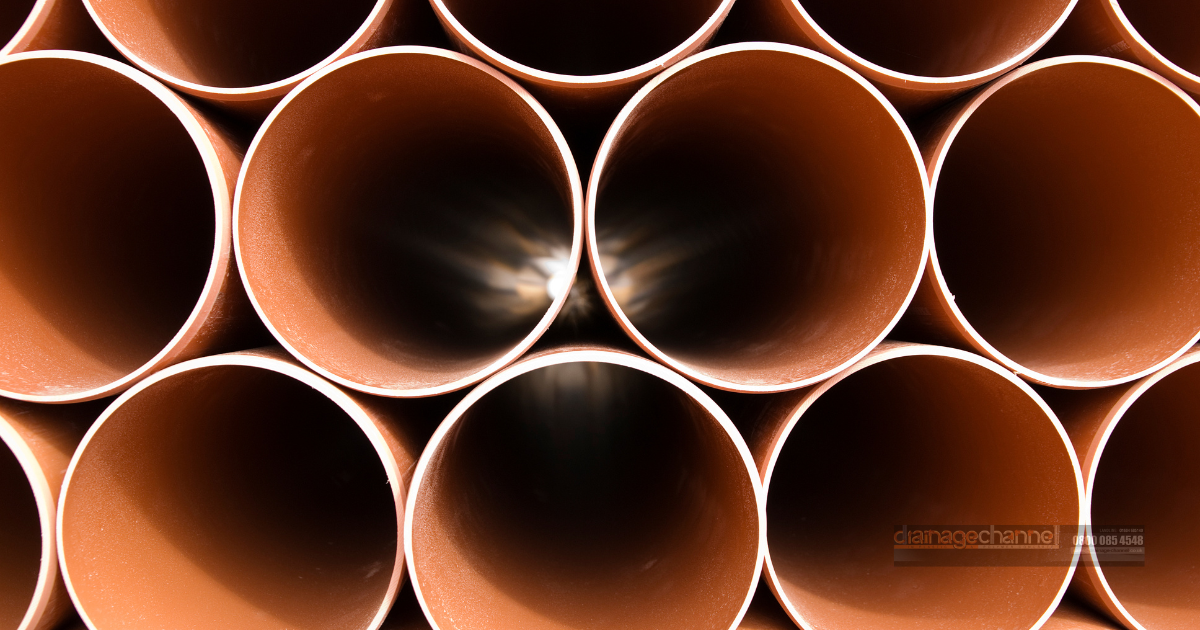
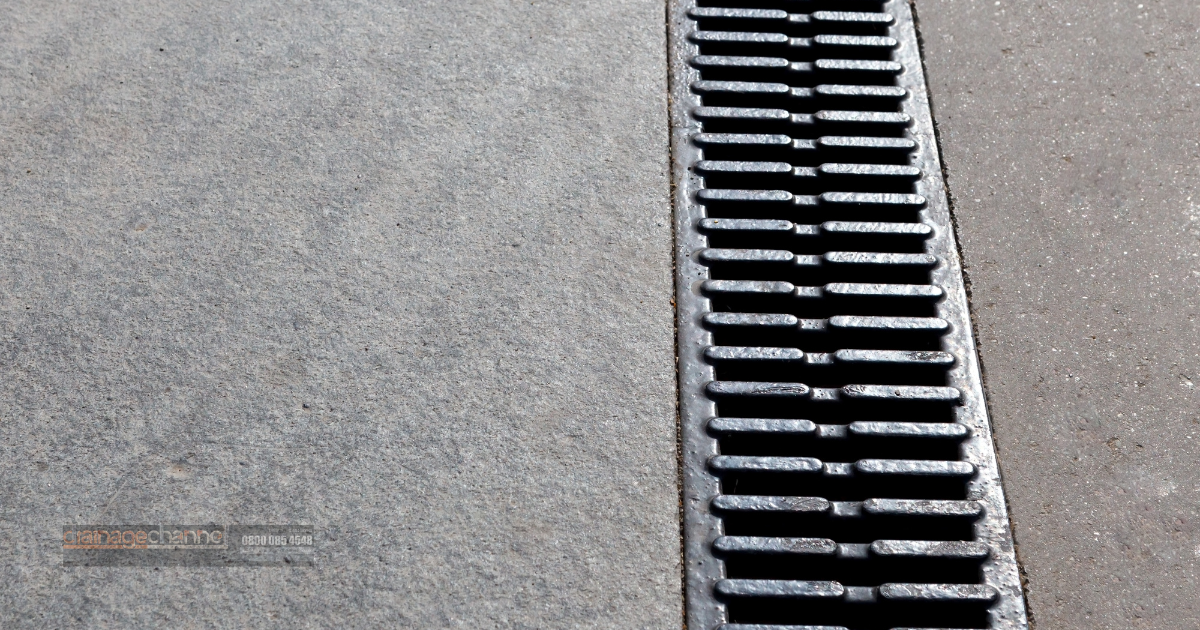
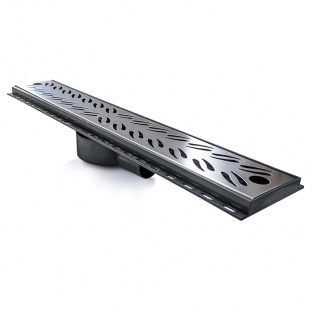
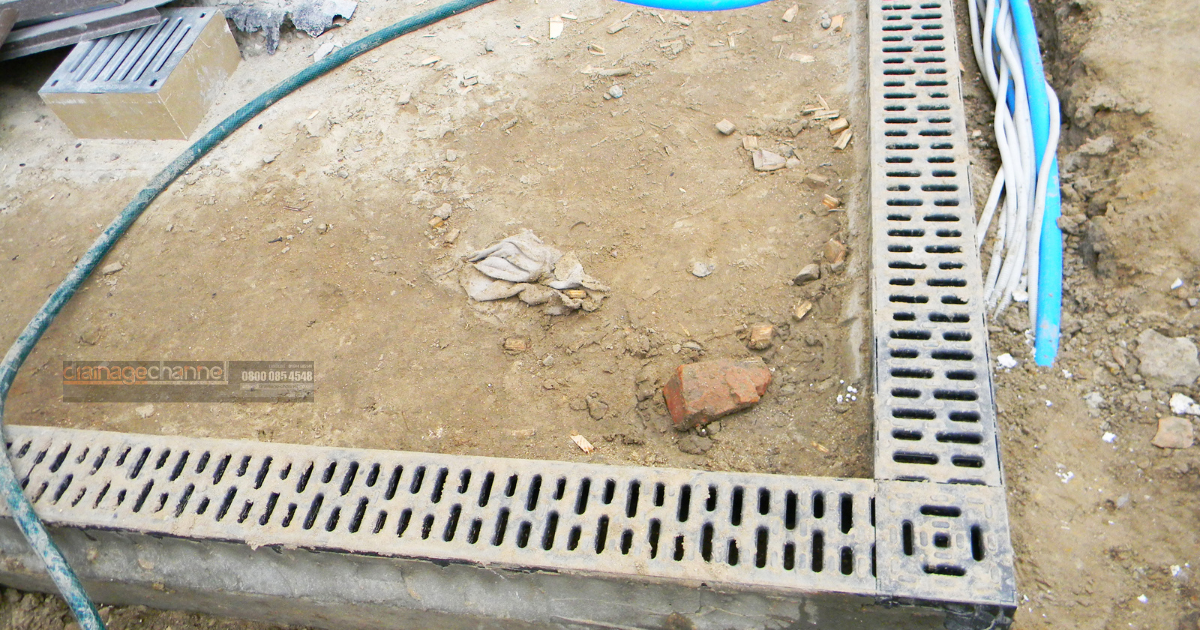
Proper drainage is a crucial aspect of residential property maintenance, often overlooked until problems arise. Effective drainage systems ensure that water from rain, irrigation, or natural sources is efficiently channelled away from your home, preventing a myriad of issues. Without adequate drainage, properties can suffer from soil erosion, waterlogged gardens, and even structural damage to foundations. In this context, DIY drainage channel installation emerges as a practical and rewarding project for homeowners. One of the primary benefits of installing drainage channels yourself is the potential for significant cost savings. Professional installation can be expensive, and by taking on this project, homeowners can reduce labour costs substantially. Additionally, DIY installation allows for a customised approach, ensuring that the drainage solution is perfectly tailored to the specific needs of your property. This hands-on project not only enhances your home's drainage system but also provides a sense of accomplishment and an opportunity to improve your DIY skills. Understanding Drainage ChannelsDrainage channels, also known as trench drains or channel drains, are an integral part of an effective water management system. They are designed to capture and redirect excess surface water, typically from rain, away from critical areas of your property to a suitable discharge point. This prevents water accumulation which can lead to flooding, soil erosion, and damage to structures. There are several types of drainage channels, each with its unique advantages, suitable for different scenarios; Concrete Drainage Channels are known for their durability and strength, making them ideal for areas with heavy foot or vehicle traffic. Polymer concrete drainage channels can withstand significant weight and environmental stress, though they are usually more labour-intensive to install. Plastic Drainage Channels are lightweight and easy to work with, plastic channels are a popular choice for DIY installations. They are corrosion-resistant and often come in modular designs, making them easy to fit into various landscapes. However, they may not be as durable as concrete in high-traffic areas. Metal Drainage Channels are often made from materials like galvanised steel or aluminium, metal channels offer a balance between durability and ease of installation. They are more robust than plastic but lighter than concrete, and they often feature grates that can bear significant weight. Metal channels are also favoured for their aesthetic appeal, as they can be designed to blend seamlessly with the surrounding landscape. Choosing the right type of drainage channel depends on factors like the expected water volume, the area's traffic, and aesthetic preferences. Each material offers distinct benefits, and understanding these can help homeowners make an informed decision for their DIY drainage channel installation project. Materials and Tools RequiredFor a successful DIY drainage channel installation, gathering the right materials and tools is essential. You'll need drainage pipes, which are critical for underground drainage systems. These pipes will carry water away from your property to a designated discharge area. Gravel is another key material, used for both the foundation and covering of the drainage pipes, facilitating better water flow. Concrete may be required, especially if you're installing concrete drainage channels or need to secure certain elements in place. In terms of tools, a shovel is indispensable for digging the trenches where your drainage channels will be placed. A level is crucial to ensure that your channels are laid out with the correct slope for optimal water flow. A saw might be needed, particularly if you're working with plastic channel drainage or need to cut pipes to specific lengths. Other tools like a wheelbarrow for transporting materials, a tamper for compacting soil or gravel, and safety equipment like gloves and goggles are also important. Planning Your Drainage ChannelThe first step in planning your drainage channel is to thoroughly assess your property. Look for areas where water tends to accumulate or where the soil is often waterlogged. It's important to consider the natural slope of your land, as this will influence where and how you install your drainage channels. The goal is to work with the natural flow of water, not against it. Designing the layout of your drainage system requires careful consideration. The channels should be positioned in a way that captures excess water efficiently and directs it towards the underground drainage pipes. Pay attention to the gradient; a slight slope towards the discharge point is necessary to ensure water doesn't stagnate in the channels. Before beginning your installation, it's crucial to be aware of any legal considerations. This includes checking local building codes and regulations regarding water drainage. In some areas, you may need to obtain permits, especially if your drainage system involves significant excavation or impacts the public drainage system. Ensuring compliance with these regulations not only keeps you legally safe but also ensures that your drainage system is effective and doesn't negatively impact your surrounding environment. Step-by-Step Installation GuideExcavationThe first step in installing your drainage channel is to excavate a trench. Begin by marking the path of your trench, keeping in mind the natural slope of your land and the planned layout. The trench should be wide enough to accommodate the drainage pipes and deep enough to allow for a layer of gravel beneath them. As a rule of thumb, aim for a depth and width of about 12 to 18 inches, but this can vary based on the size of your pipes and the specific requirements of your project. While digging, keep the excavated soil nearby as it will be useful for backfilling later. Remember to maintain a consistent slope towards the discharge point to ensure effective water flow. Laying the FoundationOnce your trench is ready, lay a foundation of gravel or coarse sand at the bottom. This layer should be about 2 to 3 inches thick. It serves as a stable base for your drainage pipes and facilitates better water drainage. Compact this layer evenly to prevent any future settling or shifting. Installing the Drainage PipesNow, place your drainage pipes in the trench. Ensure that the pipes have a slight downward slope in the direction of the water flow. If you're using perforated pipes for underground drainage, make sure the holes are facing downwards. This allows water to seep into the pipe from the ground. Connect the pipes carefully, following the manufacturer's instructions. For secure connections, you might need additional fittings or connectors, depending on the type of pipes you're using. Covering and Securing the ChannelAfter laying the pipes, cover them with another layer of gravel. This layer should be thick enough to protect the pipes but not so thick that it impedes water flow into them. Once the gravel is in place, install the channel grates if your system includes them. These grates not only protect the drainage channel from debris but also integrate it seamlessly into your landscape. Finishing TouchesThe final step is to landscape around the newly installed drainage channel. This might involve backfilling the edges of the trench with the previously excavated soil, planting grass or other vegetation, or adding decorative elements like stones or pavers. The goal is to make the drainage system a part of your garden's aesthetic, ensuring it blends in while serving its functional purpose. Remember to leave easy access for maintenance and cleaning of the channel grates and to check the system periodically to ensure it's functioning as intended. | |||||||||||||||||||


|